How to Protect Your Photos from Natural Disasters
September 11, 2023Imagine you lost all your photos in a natural disaster. How would this make you feel? Sad? Angry? Devastated? Shocked? Overcome with grief?

It doesn’t have to come to this. All that is required is a bit of planning. So, let’s make sure you have peace of mind that your photos and videos are safe and protected.
By the way, there are of course many other ways one can lose photos. In any case, it is good to know that photos are safe and backed up because things do happen.
In this article though we are specifically looking at how you can protect your photos from natural disasters, such as bushfires or floods, that can pose a terrible threat to these precious memories.
Let’s delve into two scenarios: the ideal approach to backing up your photos for when you have a lot of time to tackle this project, and a more practical option for quick evacuation. We will also discuss those in much more detail in this upcoming class.
Scenario 1: When you do have time to get ready
In an ideal situation, your entire photo collection is backed up at all times, especially the digital collection. If you have enough time to tackle a photo organising project, here are the recommended steps to get there.
1. Know Your Why – Visualize Your Goal
Take a moment to envision what you want to achieve with your photos. Is it about creating a meaningful legacy, compiling photo books, or creating photo gifts? This vision will guide your decisions during the decluttering process and motivate you through challenges. Find out more about this step in this podcast episode.
2. Assess the “Mess”
Gather all your photo-related items, including prints, albums, frames, and digital files. Creating a basic inventory will provide an overview, even if you can’t tackle the backup process immediately. It is also helpful and necessary to do this step if you don’t have enough time to finish the project but need to rely on your evacuation plan.
3. Sort and Organize
This is the step that takes the longest. It is time to declutter and organise your collection. The aim should be to make it searchable so you can easily find a picture when you need it. Basic sorting during the gathering phase simplifies the process. You can learn more about that step in our podcast episode for digital photo organising here and for printed photos here.
4. Back Up Printed Photos
Digitizing printed photos is the best and most logical approach to protect them. Consider scanning them yourself or use a professional scanning service. In any case, it will cost time and money. However, the peace of mind it offers is invaluable. The good news: it only needs to be done once (hence aim for the best quality scans, not a phone app scan if it can be avoided). Keep the original prints in an archival box or capture digital images of album pages as backups.
5. Back up your Digital Photo Collection
Ideally, your digital collection is stored on your computer or an external drive if the computer hasn’t got enough storage space. Either way, I recommend implementing the so-called 3-2-1 backup strategy: maintain three copies on two different devices, with one copy offsite. The latter usually is the cloud. Download the free guide to the 3-2-1 backup here to learn more.
Scenario 2: Quick Evacuation Plan
If you don’t have time to get your photo collection in order and backed up before the next bushfire or hurricane season starts, you can at least prepare for a “grab-and-run-situation”.
1. Gather and Pack
Collect all your photo-related items and pack them into small to medium sized containers (so they don’t become too heavy). Opt for fire and water-resistant bags or cases for USBs and hard drives.
2. Safe Storage
If storing items at home, keep them near the exit for easy access during evacuation. Avoid attics, garages and basements (these should always be avoided as a storage option anyway). For longer-term storage away from home, consider storage units or trusted friends’ houses.
3. Emergency Plan
Document your emergency plan, detailing where your photos are stored. Share copies with trusted individuals who can access your photos if you can’t.
By the way, these strategies aren’t solely for photos – they apply to safeguarding essential documents too.
Staying informed about disaster threats and considering insurance options are also essential steps in this process. Remember, while material possessions can be replaced, the memories captured in your photos are irreplaceable.
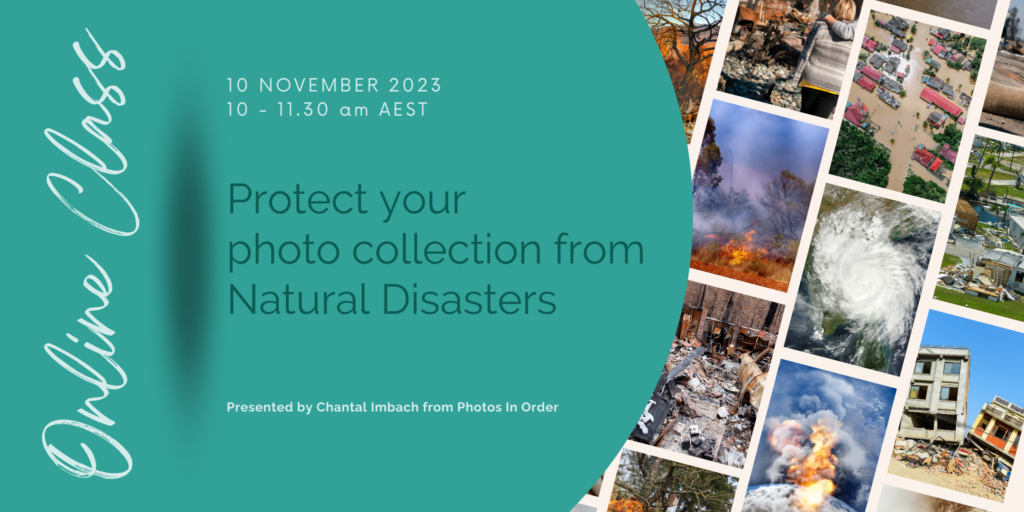
So, act now to protect your photographic treasures for generations to come and join me for this upcoming class called Protect Your Photo Collection from Natural Disasters.
In this class, we will explore how you can safeguard your precious memories:
- understanding the risks posed by emergency situations,
- creating a strategy to keep your photos safe,
- ensuring quick access to your photos when time is of the essence,
- organising your photos in a way that keeps them secure,
- employing digital backup strategies to keep your photos safe, and
- crafting a personal step-by-step plan to safeguard your entire photo collection, both physical and digital.
You might think, “I’ll do it later.” But here’s the thing: disaster doesn’t wait, if you have prepared you can act swiftly to protect those precious memories from being lost.
Grab your ticket here – I’m looking forward to meeting you there!


0 Comments